Property Manager Calendar
 Updated
The Checklist calendar acts as a multi-functional tool which allows you to view jobs for all properties, view job statuses, view the service providers assigned to a job, view property statuses, filter by specific jobs and create new jobs.
To view your calendar:
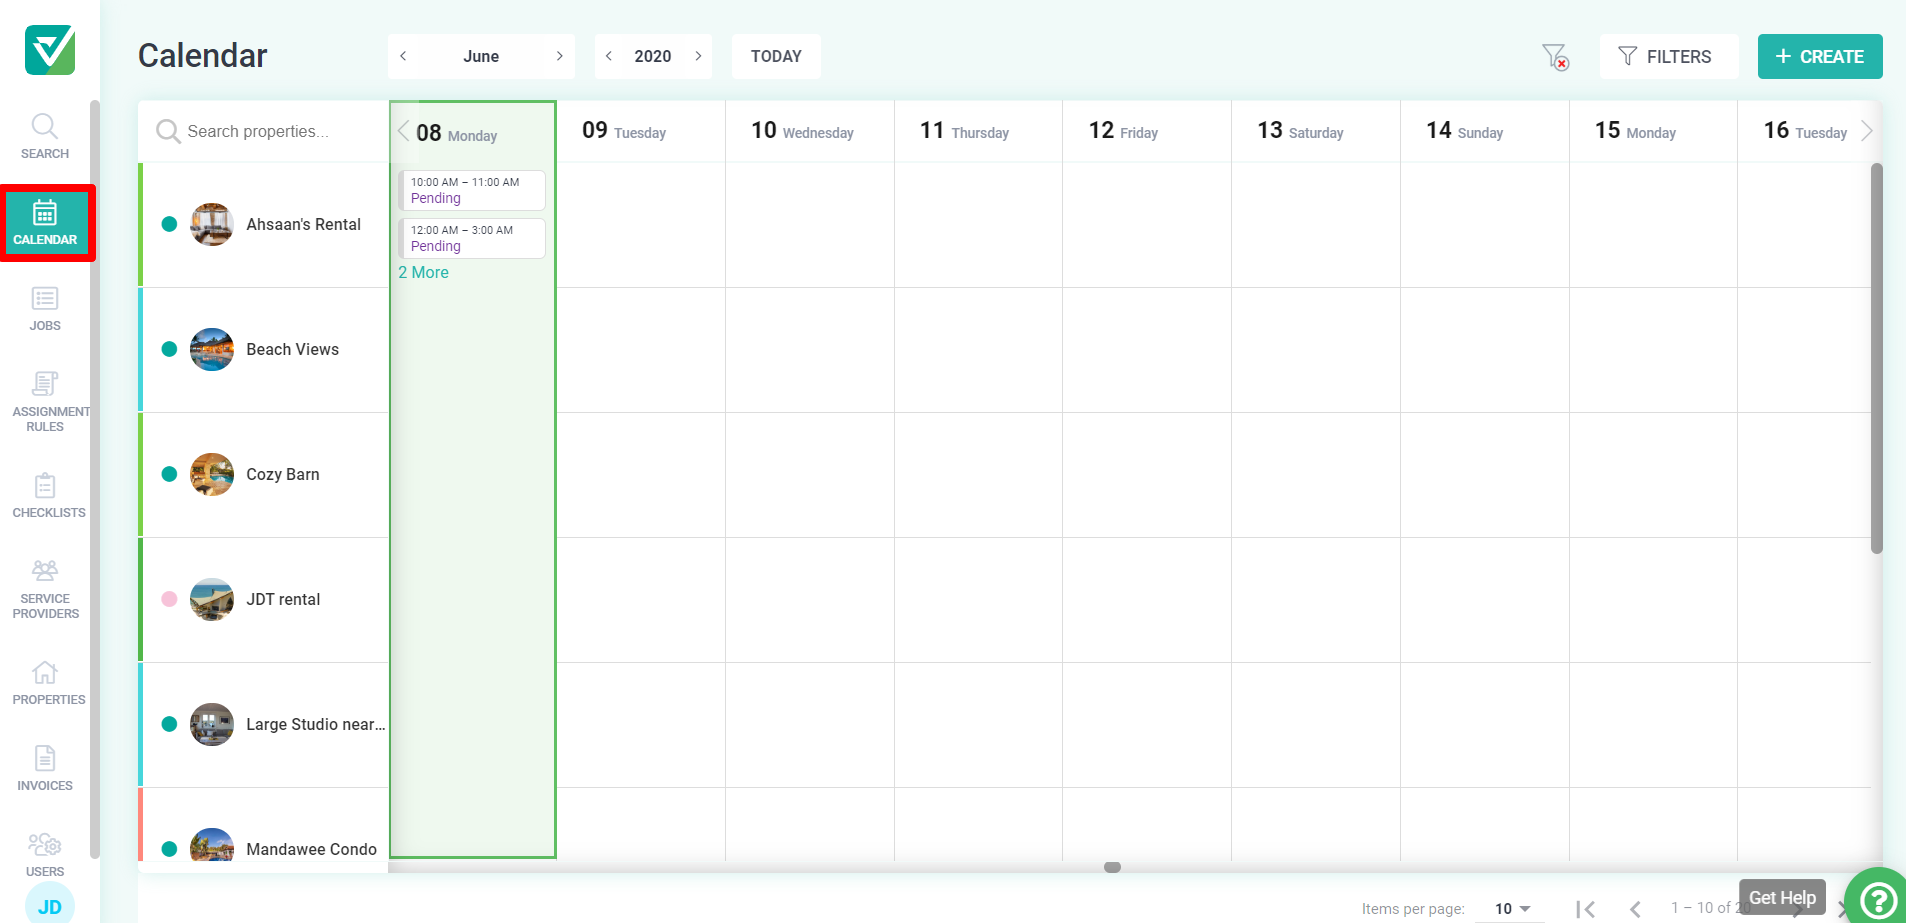
- Click Calendar on the left navigation bar.
To create a job on your calendar:
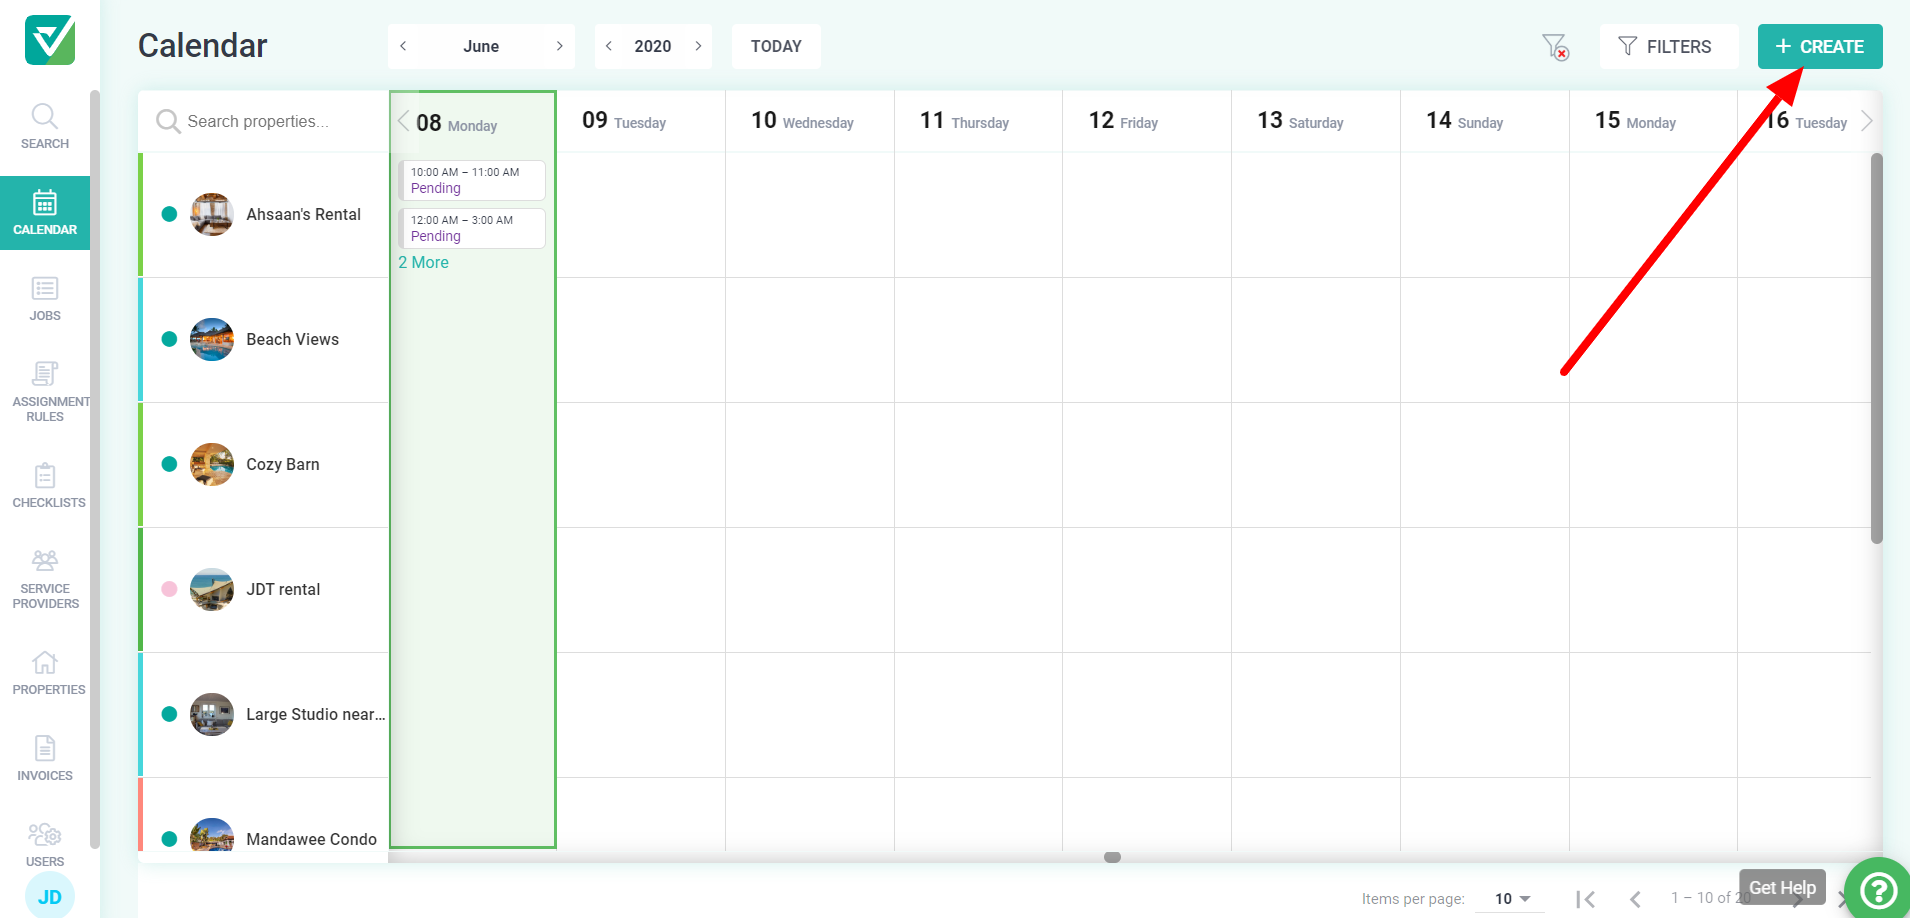
- Click create to the top right-hand corner of the screen.
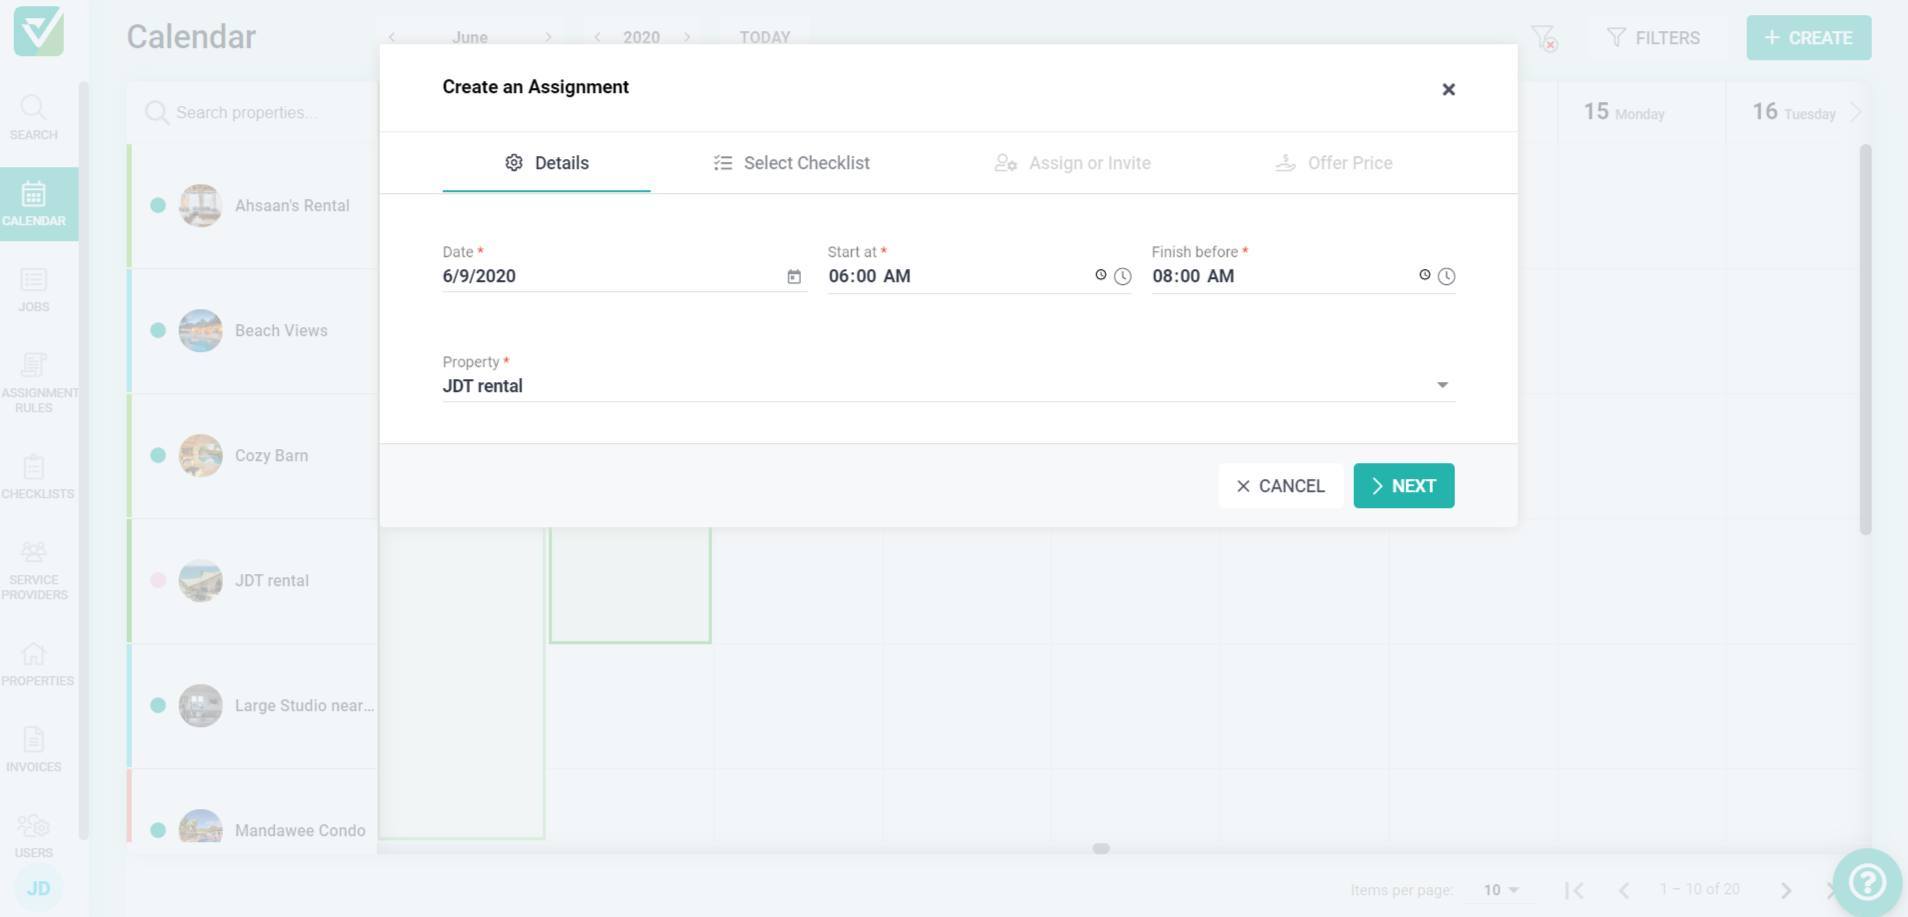
- Enter all required information into the details overlay, click next.
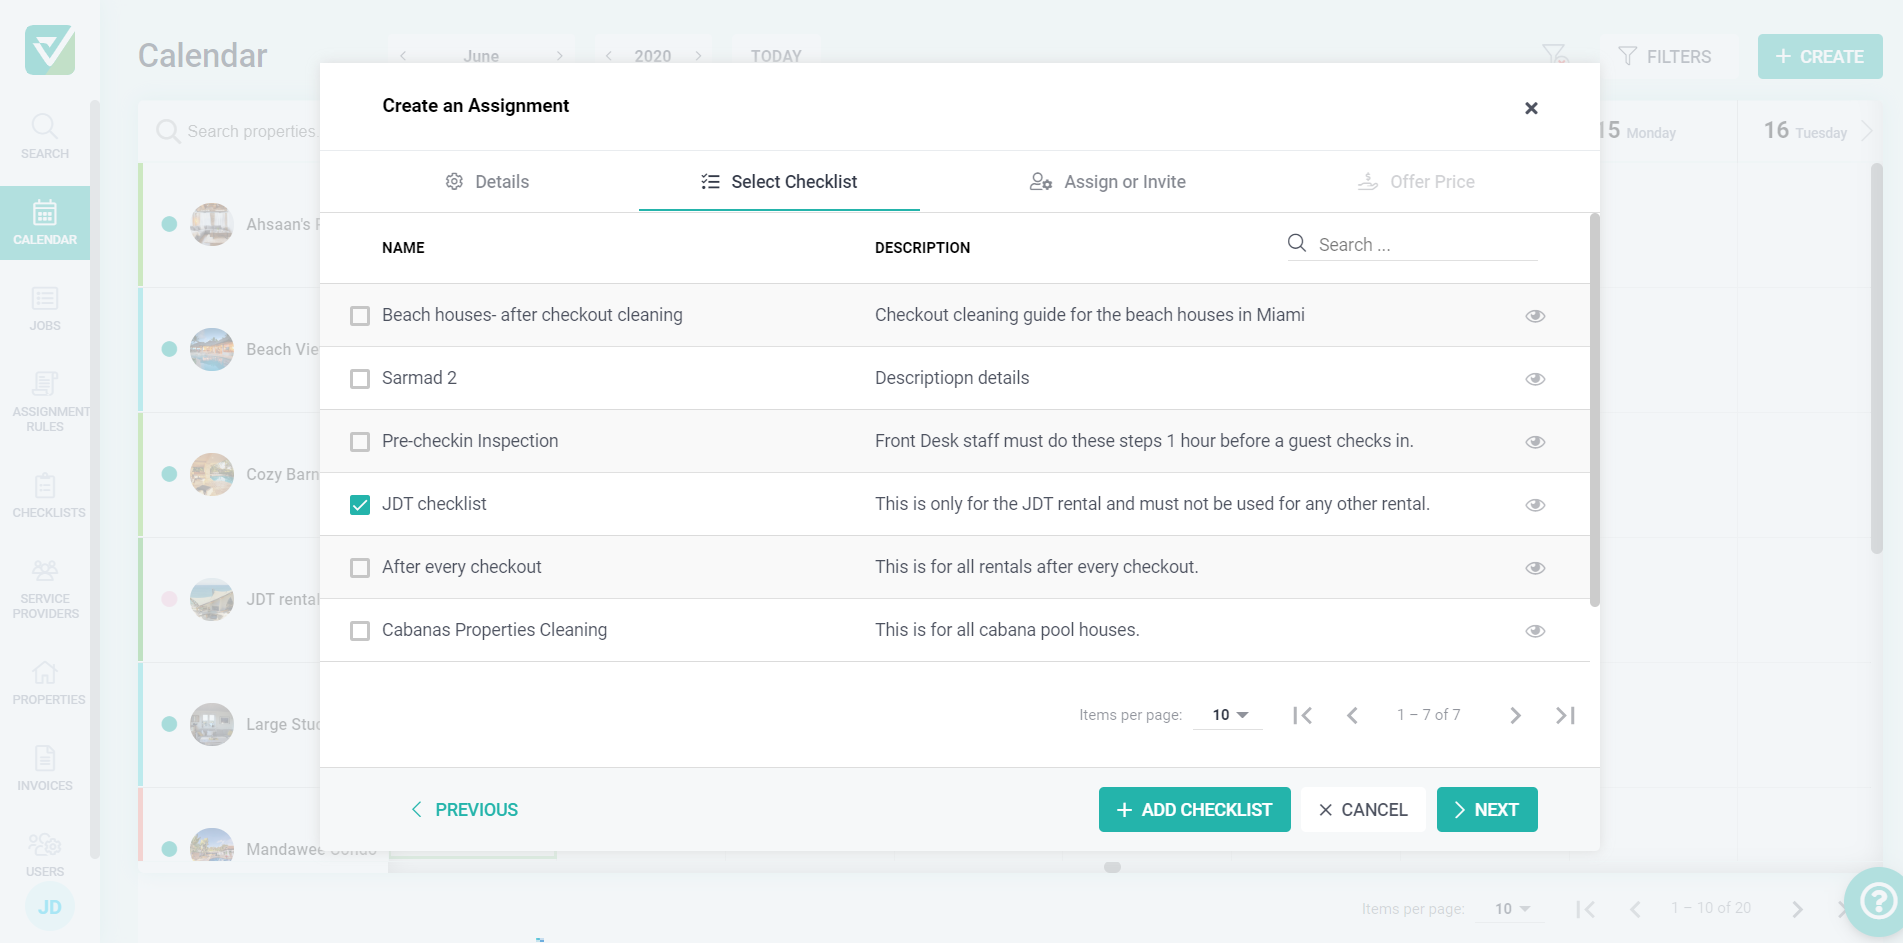
- Select one or more checklist. To quickly preview your checklist, click the eye icon on the right of the checklist. From this tab, you can also create a brand new checklist using the Add Checklist button.
- Select the Service provider(s)
Here's where you decide when the job request will be sent to service providers, which service providers it will be sent to and when the job request should expire.Invitation Expires- set the number of days/hours that service providers have to accept/decline the job request. Under the First come First Serve strategy, a job becomes 'Unassigned’ if no service provider accepts the request by the expiration date. Under the Priority strategy, each service provider has the amount of time set in the Invitation Expiries field to accept the job request, before the request is sent to the service provider next in line.Assignment Strategy- Assignment rules are used to decide when each service provider selected will receive the job request. There are two assignment strategies- Priority List and First Come First Serve.
Priority List - allows you to sequentially send the job request to the selected Service Providers.
First Come First Serve - allows you to simultaneously send an assignment request to all Service Providers.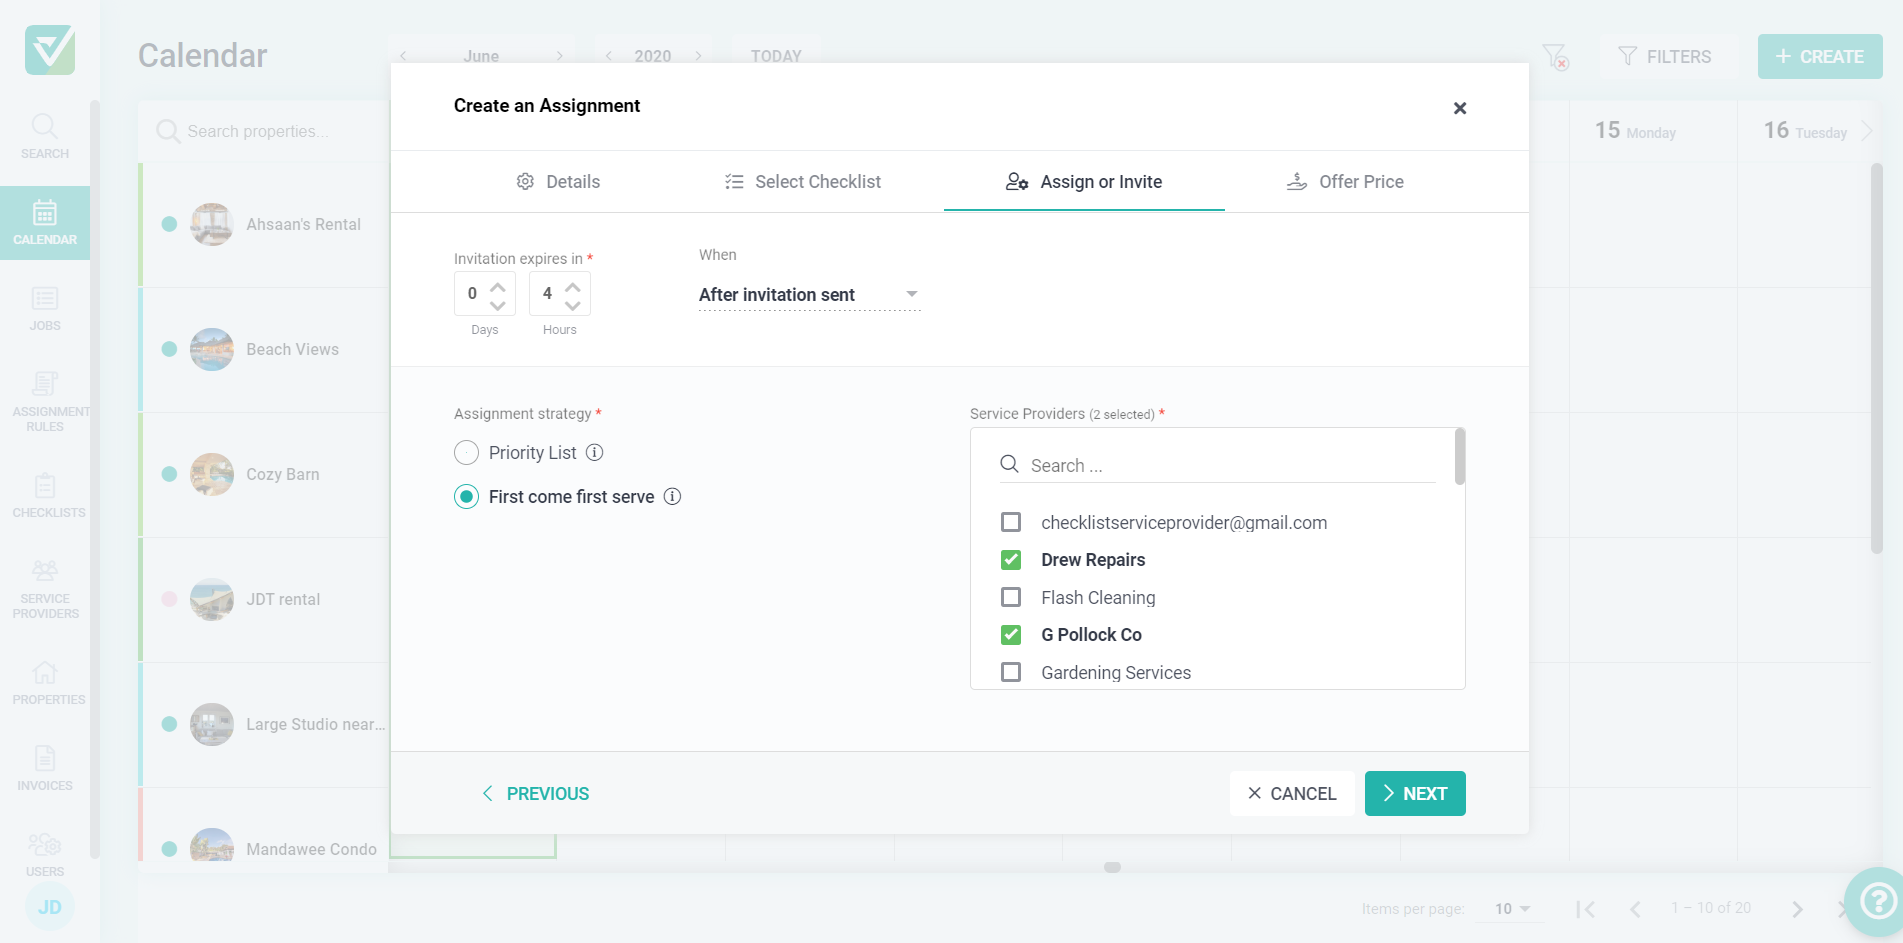
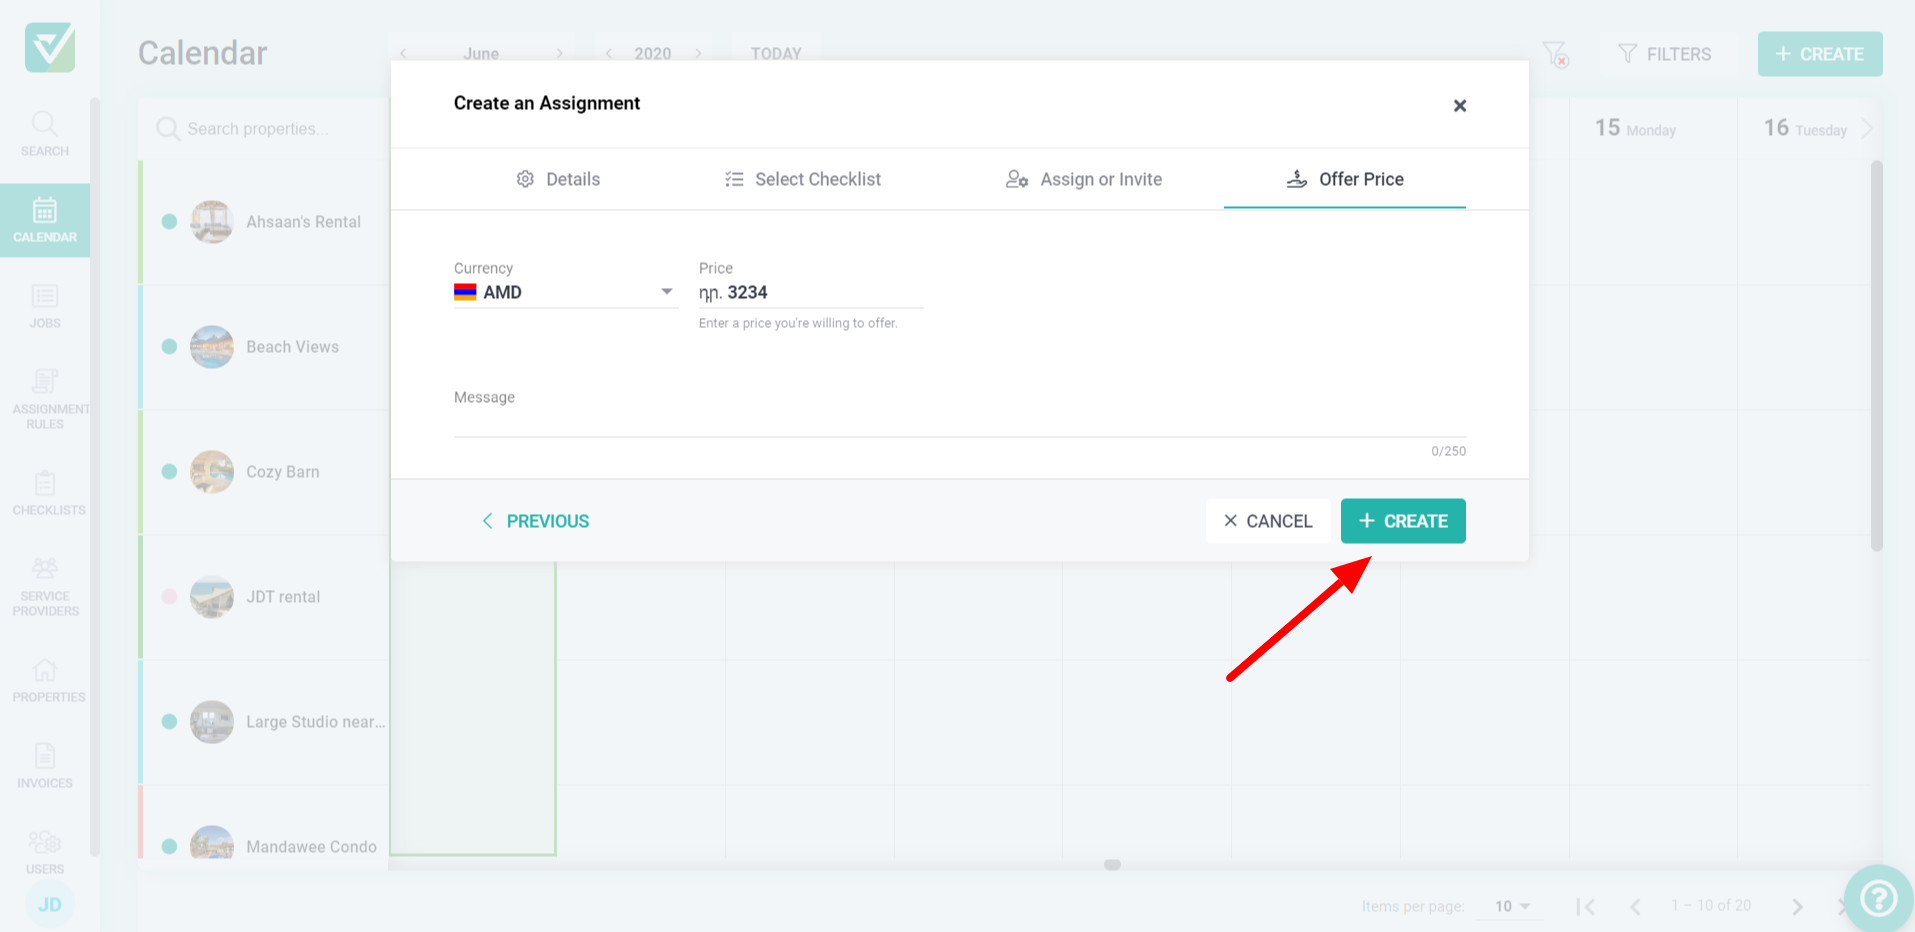
- Set a reasonable price to pay your Service Provider. Your service provider will be able to send you an invoice for this amount. You may also add an optional message to be sent to your selected Service Provider.
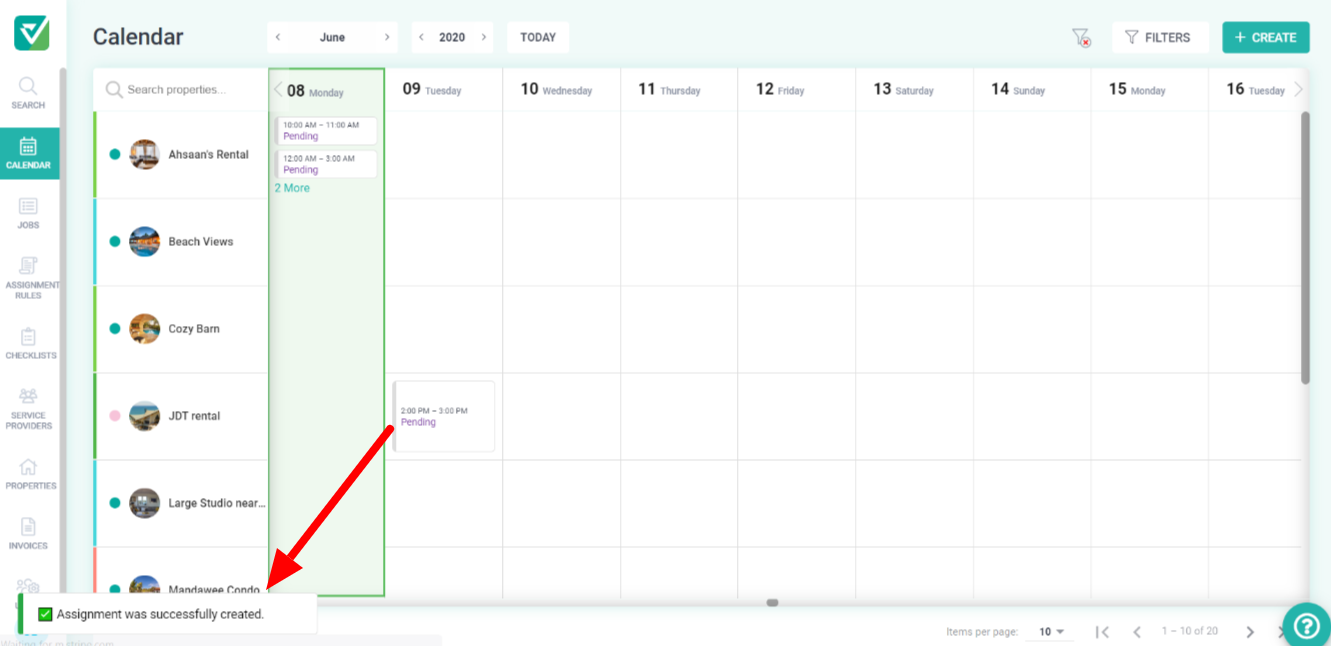
- A successful/unsuccessful notification would pop up to the bottom left-hand corner of the screen.
That's it. Once a Service Provider accepts your job, you will be alerted by email or SMS, based on your Notification settings. If no Service Provider accepts the job before the expiration time, the job will be come unassigned and you will be alerted. Unassigned Jobs will also show in the Problem Tasks table on your Dashboard.
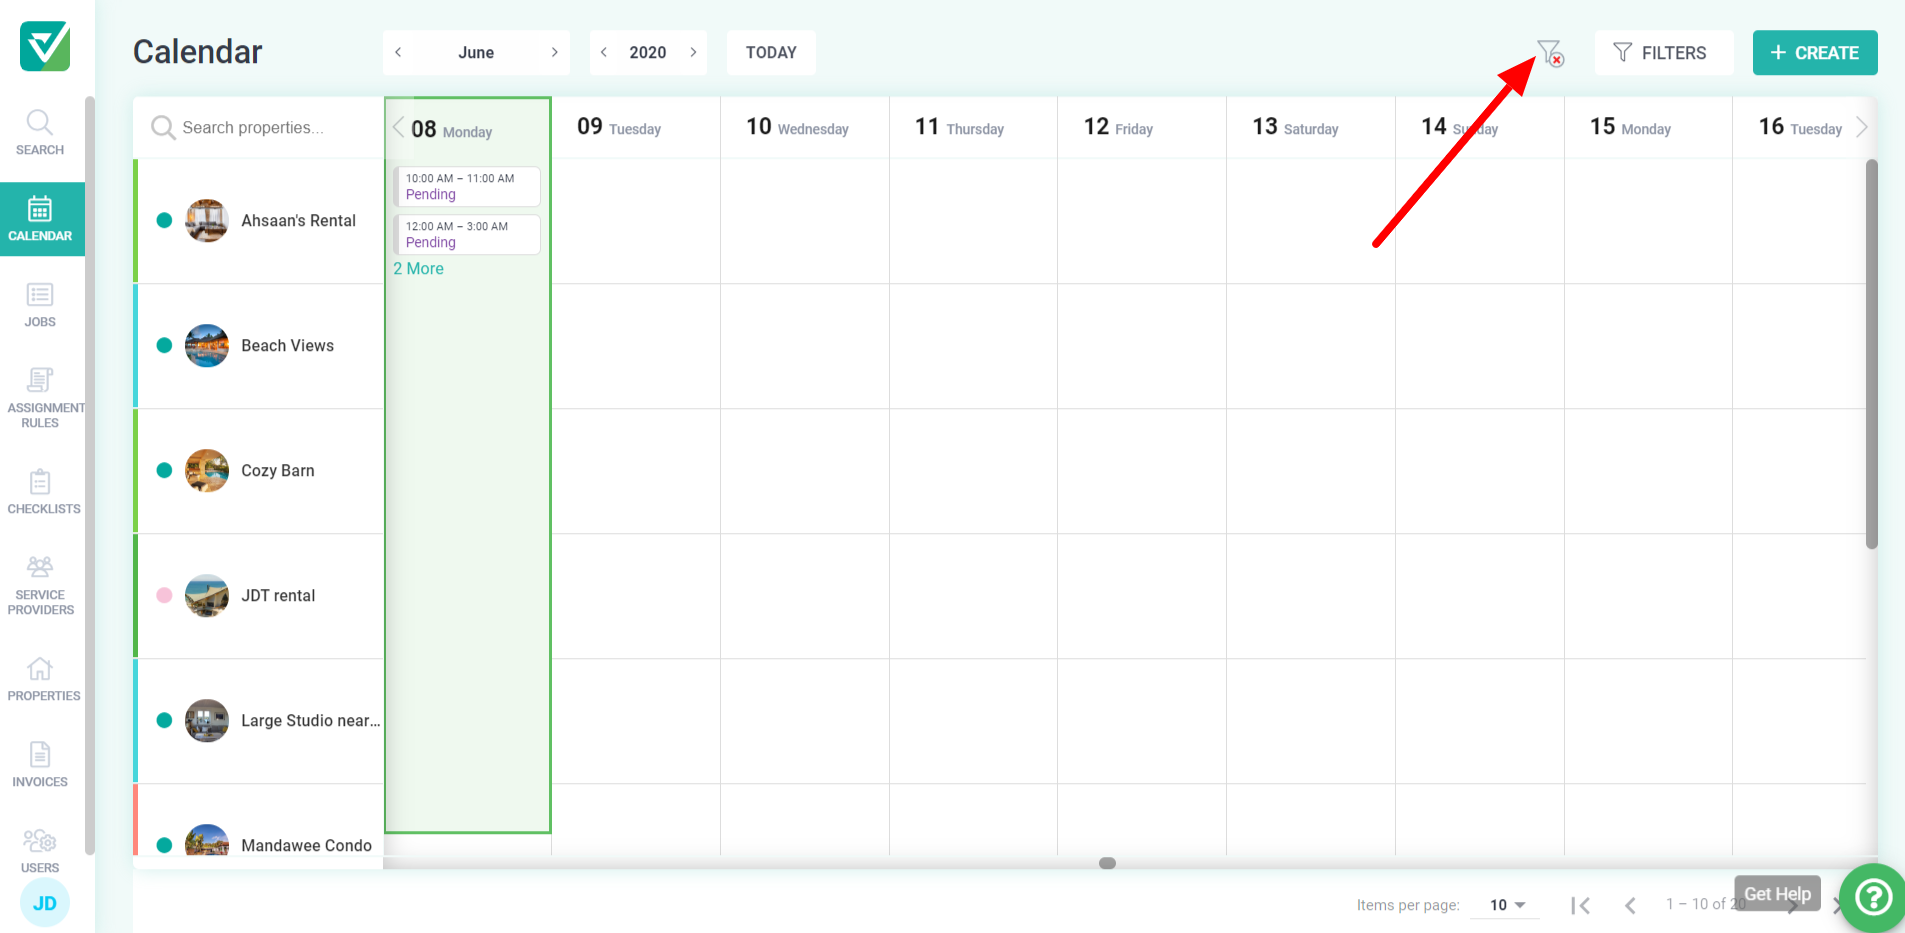
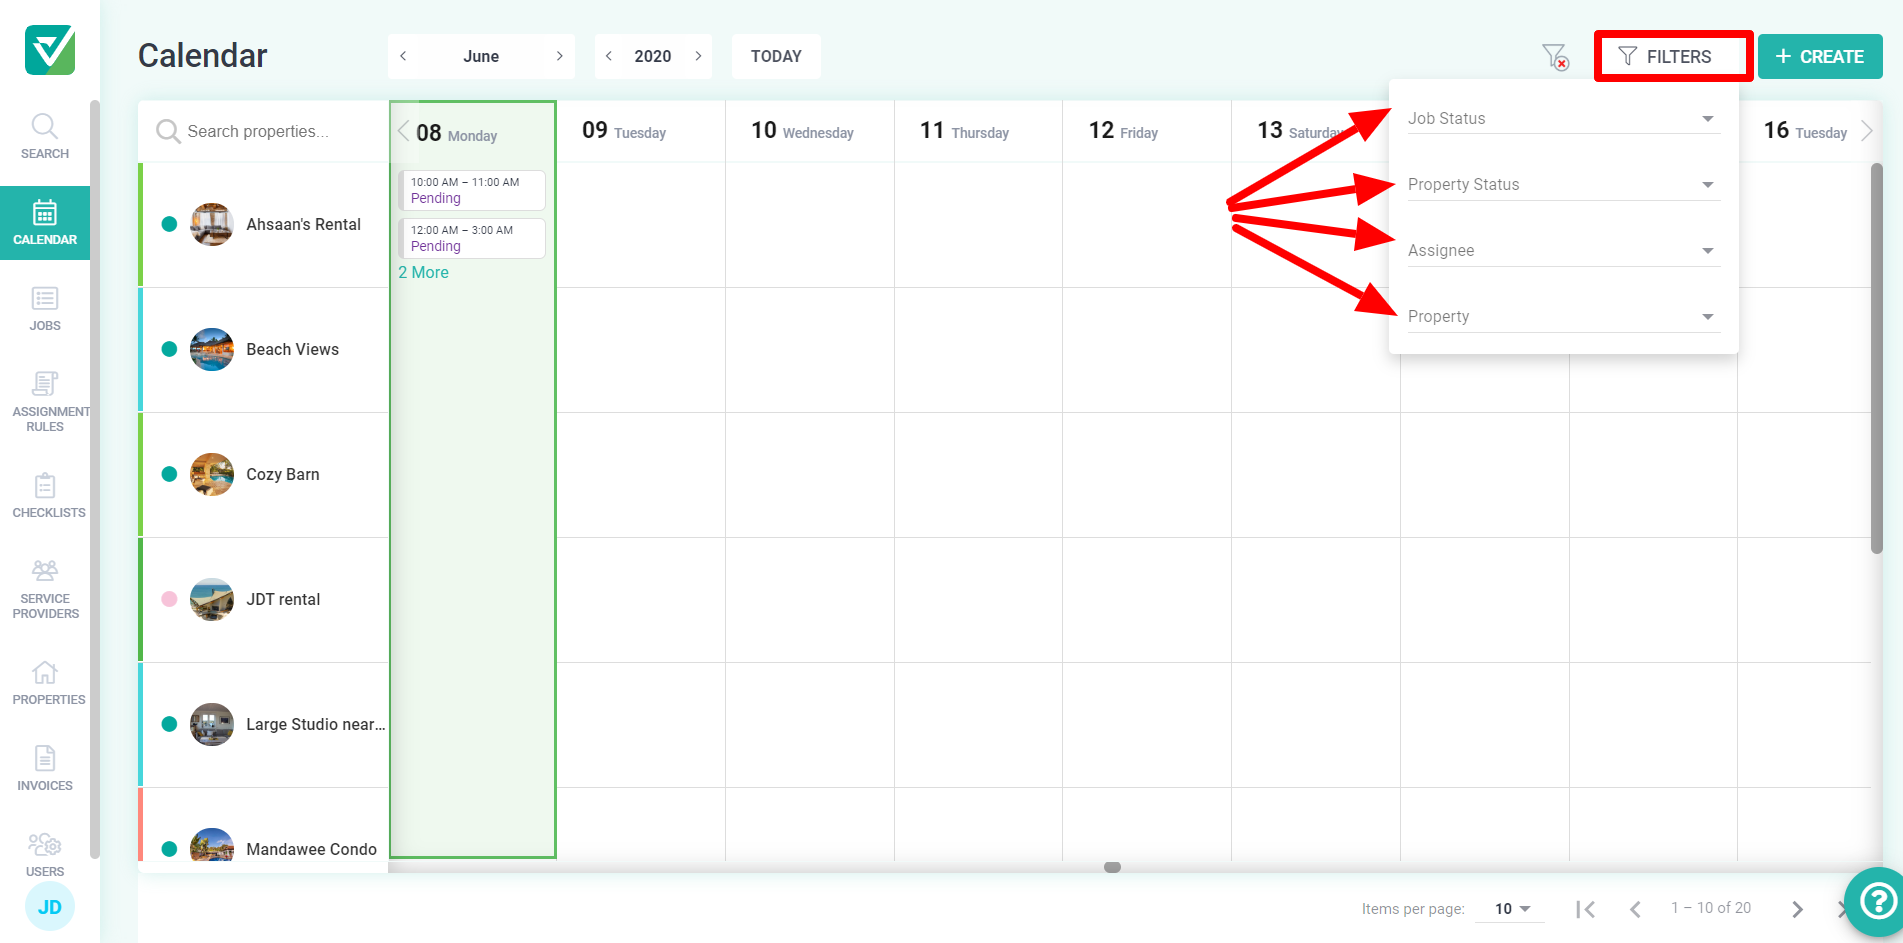
Filtering information on the calendar
- Toggle between different months and years.

- Filter by the status of a job, the status of a property, the assignee on a Job and the rental name.
- Clear all filters to return to the default view.